Tuesday, November 27, 2012

Favorite Papers Revisited

So here is it is, another "using up old stash" project....

EAT


In the notion of revisiting favorite paper lines, I rediscovered Basic Grey Nook and Pantry. I made several recipe books with this paper line when it first came out, but I hoarded the papers in my favorite kitchen colors: yellow and green. 
 
Of course, I thought I would use these for something special,  and stashed them in a drawer.  Until, I decided to revisit a few favorites... I also ran across a pressed particle board book and I converted into a kitchen wall hanging.
 
Each layer of patterned paper is backed with a layer of Old Olive SU cardstock and distressed. 
 
 
I punched extra holes and strung up the sign using SU ribbon. 
The SU lace edging adds an elegant touch.   And I think the velvet rickrack is by Mya Road, but I have had it in my stash so long, I am not sure. 
 
This is now hanging in my kitchen and it adds a bit of retro fun to the space!


Friday, November 16, 2012

Peony Lady Card & Box

Peony Lady Card and Box


I have been trying to revisit some of my very favorite papers of all time.  Graphic 45's Steampunk Debutante is one of those lines.  I bought a ton of it, because I loved it (and still do).  So I decided to rescue it from the recesses of my paper storage and to make something with it. 


A good friend of mine has a birthday today and I thought it was the perfect time to use those fav papers.  I also broke out a set of stamps I have never used, Studio 490 Alphabetical Art.  I used the flower to stamp of some cardstock.  I then cut out each one, conditioned the paper, and layered them up to make a beautiful peony flower.  The paper is white core, so I colored the edges with my Copics to soften to look.  I added greens, blues, and oranges to make it look to be copper.  
Pretty...
The lady is from a Stampers Anonymous stamp.  I stamped her in black Memento and colored her with my Copics.  Each limb and the head are attached with brads, so that you can move her arms, legs, and shake her head. 
  Gotta love an interactive card!


Since it was such a dimensional card, it needed a box. Time to break out more of the papers and some Copics to shade the pretty lady's face in.


I am particularly found of the section with a watercolor effect shading her cheek and chin.


I added some Tim Holtz tissue tape and decorated the inside of the card in a snap!


Happy Birthday, Renee!

Tuesday, November 13, 2012

Royal Rose Ball

So what have I done with all my rolled roses?

 Royal Rose Ball


I die cut them from the Royal Rose die by My Favorite Things and Red Riding Hood Red cardstock from Stampin' Up.  The centers of half of the roses are stick pins with pearls on the ends.  These pins are holding the roses in a Styrofoam ball I bought at a local craft store.  The remaining roses are glued onto the ball using Tacky Glue. 
 
This works great as long as you don't use the rose ball as a soccer ball...whose eight year old boy would do such a thing?...
 Yes, mine did and you could have used his eyes for saucers when he saw one of the flowers fall off.  Not a problem, a little more Tacky and all was fixed.


I wrapped the ball with a ribbon, tied it, and tacked it down with the roses with pins. 


Then I tied it to my ceiling fan in my guest room.
I think it is a vast improvement to a plain white ceiling fan.

Sunday, October 21, 2012

Dew Drops

A little rain in San Diego leads to some pretty sights.  We don't get much rain around these parts of the world, so when it rains, it opens up tons of new fodder for photos....
 
 
Look at those rain drops on the plumeria!


Look how the water magnifies the petal from the other side of the flower!


And then, I shot this of some pine needles.  It was overcast and I shot the photo in color, but it looks black and white...Doesn't it look like a modern sculpture?


Thursday, September 6, 2012

Back to School Cards

Here are some back to school cards I made form my sons' teachers this year. 
The little boy stamp is by October Afternoon.


I stamped the image three times, once on white cardstock, once on patterened paper (Simple Stories), and once on canvas.  I then colored in the boys on the cardstock (using Copics) and paper pieced the shirt from the patterned paper (adding shadows with Copics).  The canvas part I used for the banner and the shorts.  I colored the shorts with Copics to make them look like demin. 


I really like how I colored the hair and the shodows on the shirt. 

Wednesday, September 5, 2012

Rainbow Plumeria Blooms

Thank you to my green thumbed hubbie!
I can stake no claim as to growing these gorgeous plants, but I can capture their images.  My husband is an avid plant collector.  He finds a new variety of plant he likes and he has to have every type and color.  Can you relate to this? (Insert paper or crafting supplies for plant.)  So anyway, after having our plumeria garden grow from a single plant into a collection of over two dozen small trees, I have lots of great fodder for photography. 
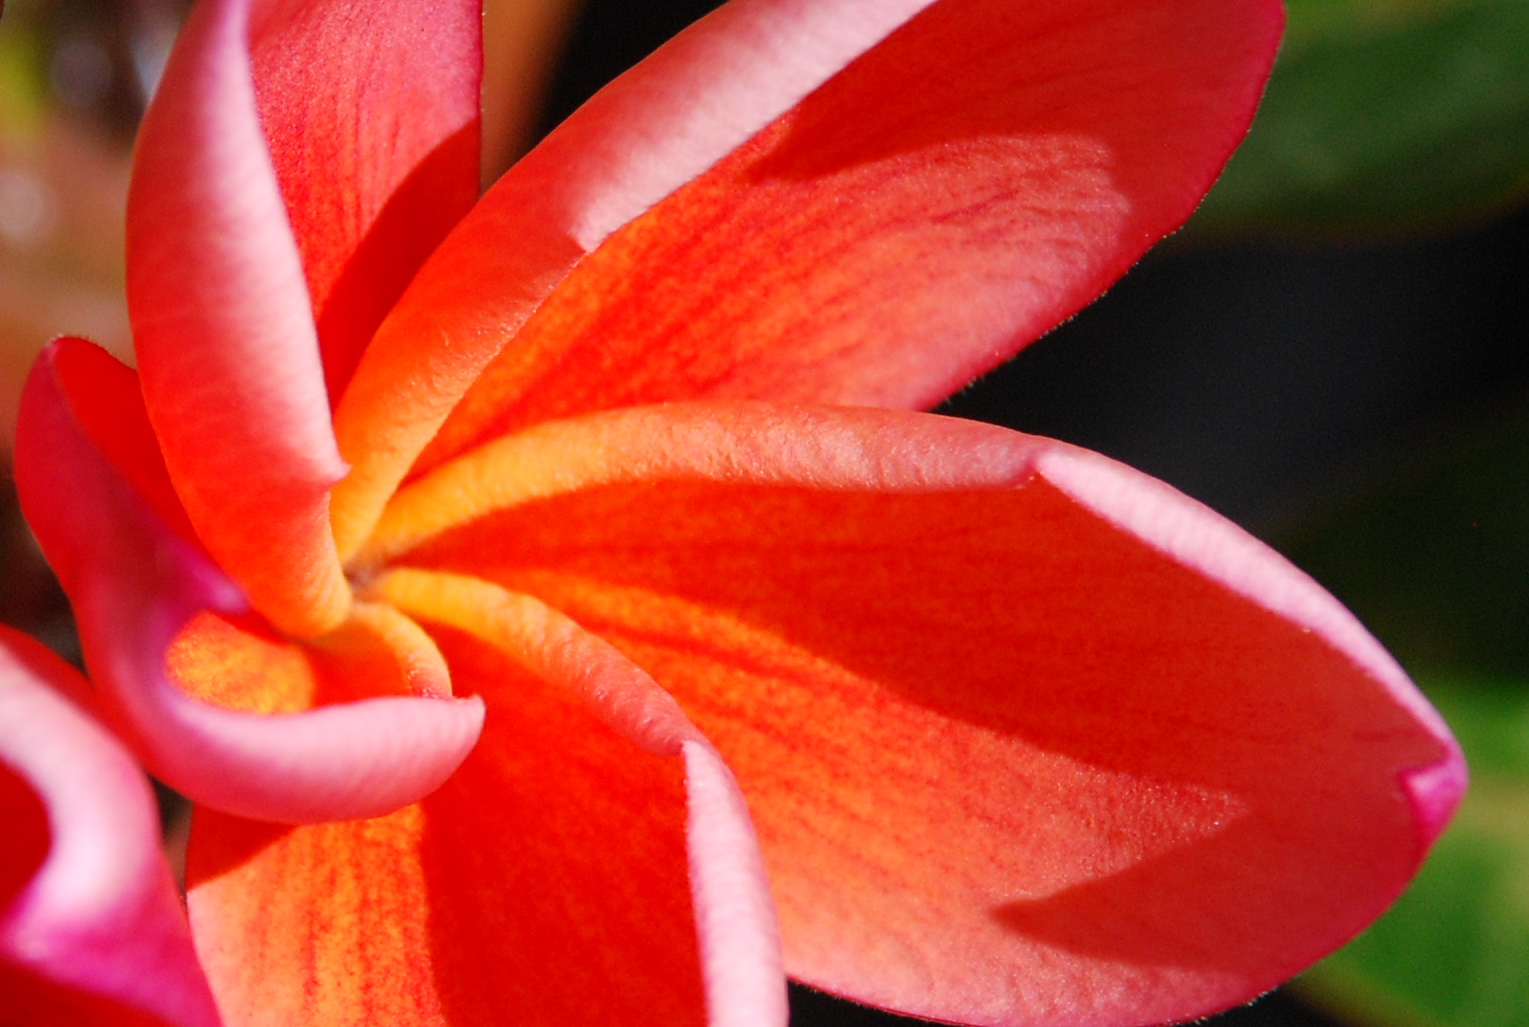
 This plumeria is a variety that my hubbies has dubbed "LA Large Rainbow". I am not sure if there is another name, but it sure is spectacular!
Don't you love how the petals curl around? 
 
Look at that bright pink!
 
 I like how the viens of the leaf are the same bright pink / red of the petal tips.
 
The photo can capture the beauty, but not the fragrance. It smells like peaches!
A million thank you's to my husband who has stood by me through my paper obesssion and loves me more than ever.  I love you endlessly, my sweet! 
Happy anniversary a few days early!

Thursday, August 23, 2012

Curiosity Shoppe Book Pages 5 and 6

I am going to preface this post with a little warning. 
 
These images are a bit intense and are maybe too much for small children. 
 
But it part of my story and a part of me that I don't often share with people.  So here it goes, I am opening up to the world a part of my world...
 
My BACK Story
I have hard chronic back pain for the past ten years.  I cannot tolerate some medications, so I must get regular epidural injections of steroids.  While these are not fun, they are what keeps me upright and able to craft.  Okay, I admit it, I have cried over my cursed back.  But at the same time I try not to let it define me.  It is a part of me, not all of me. Thankfully, I have wonderful (back) support from my family and friends.
 
So here is a little less pretty side of me, but a part all the same...
Curiosity Shoppe Book Pages 5 and 6
 
My Back Story


I drew the picture of my back with gelatos, added some Curiosity Shoppe Stamps from Graphic 45.  I wanted the back to have a bit of Frankenstein's Monster look to it, but still be feminine.  After it was all colored and stamped, I and sewed it to muslin. 


Then I stuffed it with battling and stitched the vertebrae into the paper to give it depth.  Then I sewed that to the canvas paper that was lined with some Graphic 45 Olde Curiosity Shoppe patterned paper.  I finished it off by coloring the tips of pearl push pins with Copic marker (G20) and stuck them into the image. Gosh, it hurts a bit just to type it...
   
 
For the right side of the page, I made more of an altered art collage.  I started with Graphic 45 Olde Curiosity Shoppe patterned papers and added some muslin.  I wanted the feel of the page to be a gauzy and ethereal all at the same time.  A bit of a paradox, but that is really how I see these experiences.  I have to get through the pain for the relief to come.


The whole idea for this came from a sketch I did while watching tv with my kids.  I doodled the image and wanted to make it look like it was under the magnifying glass.  I added a clear, acrylic circle from Ranger.  Between the sketch and the acrylic I added a clear journaling frame from Teresa Collins (I think, I have had it for ages).  Add the black paper, I cut by hand and a few embellishments to the handle and it was finished.


Here are a couple other of my favorites...
 
I love the butterfly in the jar and the image transferred from patterned paper onto canvas.  I also really like the muslin ruffle.
 
 
 I stamped the frog in a jar onto glossy paper and colored it with Copics.