Sunday, October 21, 2012

Dew Drops

A little rain in San Diego leads to some pretty sights.  We don't get much rain around these parts of the world, so when it rains, it opens up tons of new fodder for photos....
 
 
Look at those rain drops on the plumeria!


Look how the water magnifies the petal from the other side of the flower!


And then, I shot this of some pine needles.  It was overcast and I shot the photo in color, but it looks black and white...Doesn't it look like a modern sculpture?


Thursday, September 6, 2012

Back to School Cards

Here are some back to school cards I made form my sons' teachers this year. 
The little boy stamp is by October Afternoon.


I stamped the image three times, once on white cardstock, once on patterened paper (Simple Stories), and once on canvas.  I then colored in the boys on the cardstock (using Copics) and paper pieced the shirt from the patterned paper (adding shadows with Copics).  The canvas part I used for the banner and the shorts.  I colored the shorts with Copics to make them look like demin. 


I really like how I colored the hair and the shodows on the shirt. 

Wednesday, September 5, 2012

Rainbow Plumeria Blooms

Thank you to my green thumbed hubbie!
I can stake no claim as to growing these gorgeous plants, but I can capture their images.  My husband is an avid plant collector.  He finds a new variety of plant he likes and he has to have every type and color.  Can you relate to this? (Insert paper or crafting supplies for plant.)  So anyway, after having our plumeria garden grow from a single plant into a collection of over two dozen small trees, I have lots of great fodder for photography. 
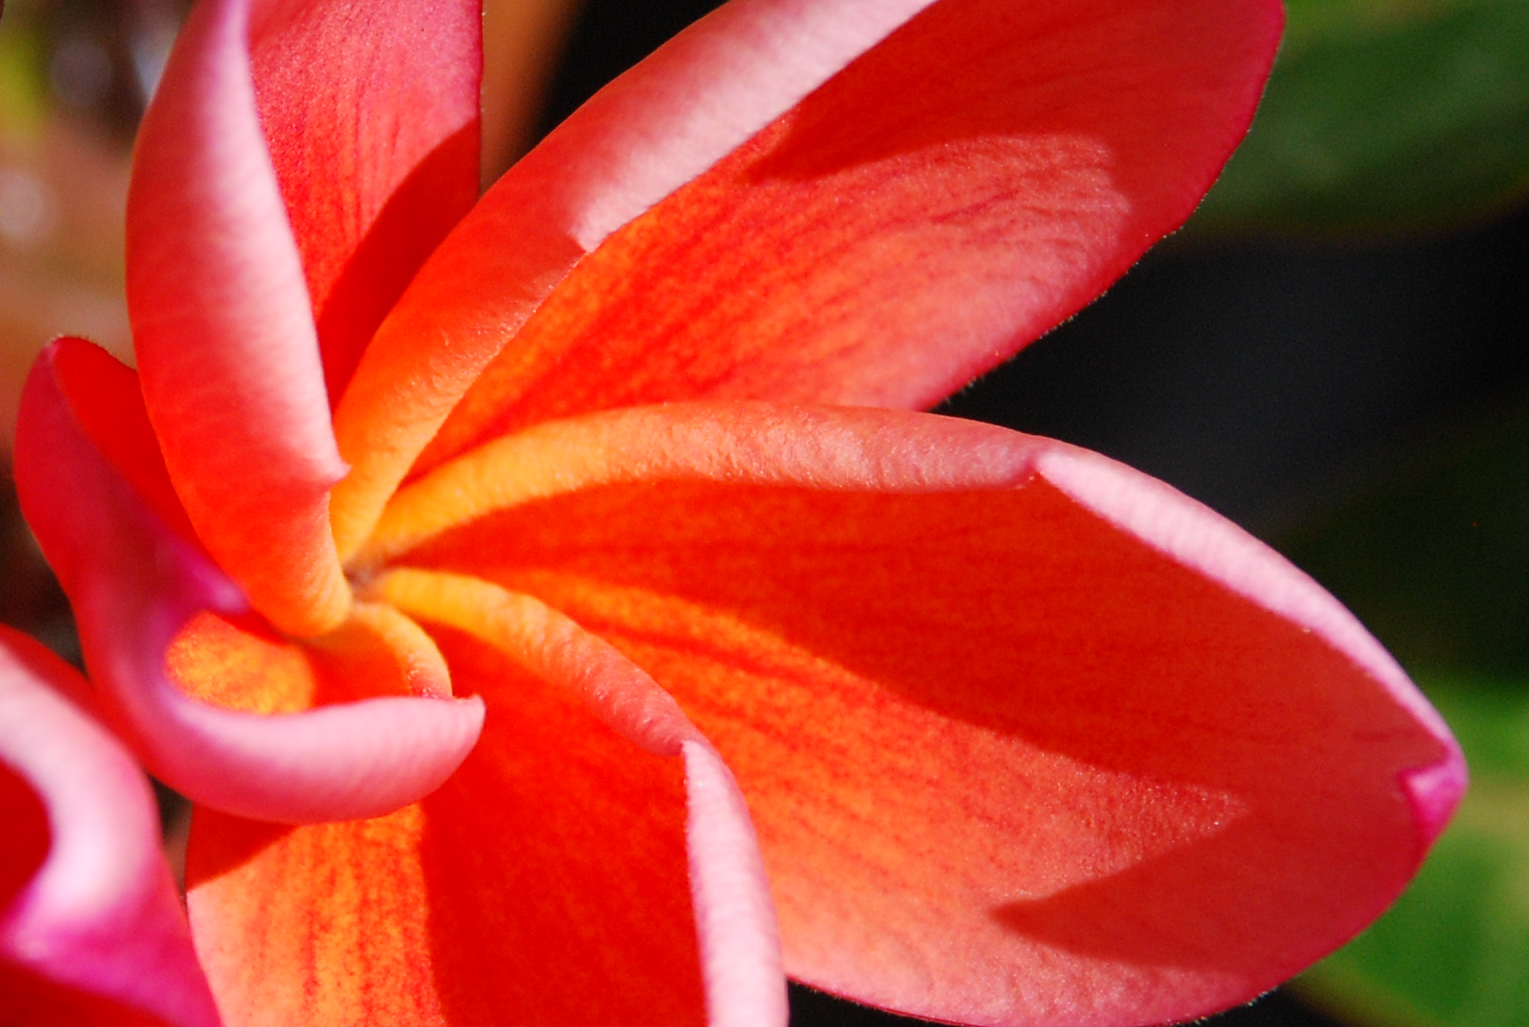
 This plumeria is a variety that my hubbies has dubbed "LA Large Rainbow". I am not sure if there is another name, but it sure is spectacular!
Don't you love how the petals curl around? 
 
Look at that bright pink!
 
 I like how the viens of the leaf are the same bright pink / red of the petal tips.
 
The photo can capture the beauty, but not the fragrance. It smells like peaches!
A million thank you's to my husband who has stood by me through my paper obesssion and loves me more than ever.  I love you endlessly, my sweet! 
Happy anniversary a few days early!

Thursday, August 23, 2012

Curiosity Shoppe Book Pages 5 and 6

I am going to preface this post with a little warning. 
 
These images are a bit intense and are maybe too much for small children. 
 
But it part of my story and a part of me that I don't often share with people.  So here it goes, I am opening up to the world a part of my world...
 
My BACK Story
I have hard chronic back pain for the past ten years.  I cannot tolerate some medications, so I must get regular epidural injections of steroids.  While these are not fun, they are what keeps me upright and able to craft.  Okay, I admit it, I have cried over my cursed back.  But at the same time I try not to let it define me.  It is a part of me, not all of me. Thankfully, I have wonderful (back) support from my family and friends.
 
So here is a little less pretty side of me, but a part all the same...
Curiosity Shoppe Book Pages 5 and 6
 
My Back Story


I drew the picture of my back with gelatos, added some Curiosity Shoppe Stamps from Graphic 45.  I wanted the back to have a bit of Frankenstein's Monster look to it, but still be feminine.  After it was all colored and stamped, I and sewed it to muslin. 


Then I stuffed it with battling and stitched the vertebrae into the paper to give it depth.  Then I sewed that to the canvas paper that was lined with some Graphic 45 Olde Curiosity Shoppe patterned paper.  I finished it off by coloring the tips of pearl push pins with Copic marker (G20) and stuck them into the image. Gosh, it hurts a bit just to type it...
   
 
For the right side of the page, I made more of an altered art collage.  I started with Graphic 45 Olde Curiosity Shoppe patterned papers and added some muslin.  I wanted the feel of the page to be a gauzy and ethereal all at the same time.  A bit of a paradox, but that is really how I see these experiences.  I have to get through the pain for the relief to come.


The whole idea for this came from a sketch I did while watching tv with my kids.  I doodled the image and wanted to make it look like it was under the magnifying glass.  I added a clear, acrylic circle from Ranger.  Between the sketch and the acrylic I added a clear journaling frame from Teresa Collins (I think, I have had it for ages).  Add the black paper, I cut by hand and a few embellishments to the handle and it was finished.


Here are a couple other of my favorites...
 
I love the butterfly in the jar and the image transferred from patterned paper onto canvas.  I also really like the muslin ruffle.
 
 
 I stamped the frog in a jar onto glossy paper and colored it with Copics. 

Saturday, July 28, 2012

Birthday Cake Pop Up Card

Birthday Cake Pop Up Card

I made a pop up card today that I my friend is going to love.  Okay, her birthday was a couple days ago, but I know she will appreciate the card.  She s a a fellow scrapbooker and crafter and she has often inspired me.
So I hope you like the card, Pat.


I used the Shaker Box die from Sizzix, a border punch by EK Succes, two circle punches from EK Success (1" and 1 1/2"), very vanilla ribbon from Stampin' Up, and SU cardstock.  The sentiment stamp is Birthday Flopsey from My Favorite Things.  I stamped it in black Momento Ink and colored it with Copic Markers BV000, BV11, and BV13.  Then I covered it in SU vanilla scented embossing powder.


You open up the card and are greeted by the pop up cake and the scent of vanilla.  Yummy!

For the inside of the card I cut the purple paper with the border punch and trimmed to just over 1/2".  Then I cut a 5/8" strip of very vanilla card stock and glued the border to the vanilla strip.  Then I gently massaged the paper strip until it started to curl.  It took two of these 12" strips to construct the cake.


I punched one larger circle and one smaller circle in vanilla and fringed the edges.  I then bent these edges and used them as the top and bottom of the cake.  The strip was wound around the larger circle.  Twisted into a circle, inside the other circle.  The ends are wound around the smaller circle.  I put a slit into the top piece for the candles.  The candle stamp is part of the Flopsey Birthday set.  I colored them with Copic BV11 and BV13, and Y07.  I attached the strip with the candles to the top, ran the strip through the slit in the top of the cake, and glued the strip to the bottom of the card.

What fun...and it smells like cake, too!


Friday, June 29, 2012

Three Flowers: One Circle Punch

I have been flipping through my new Stampin' Up catalog and finding all sorts of gems I cannot live without...or can I?
I started thinking in what ways can I use basic supplies to make a variety of projects?  I love a good flower embellishment, so I started playing with a small circle punch.  It is 7/8" but any circle would give you similar results.  I used Authentique, Loyal Collection of patterned papers for these samples.


After playing around for awhile, I came up with several different styles of flowers to make that turned out varying sizes.  Using double sided patterned paper, you can make beautiful flowers.  It is amazing what you came come up with when you are allowed to play and experiement!


Now I am sure these flowers are not totally original with me, but I made them myself without any patterns.


The Rolled Flower

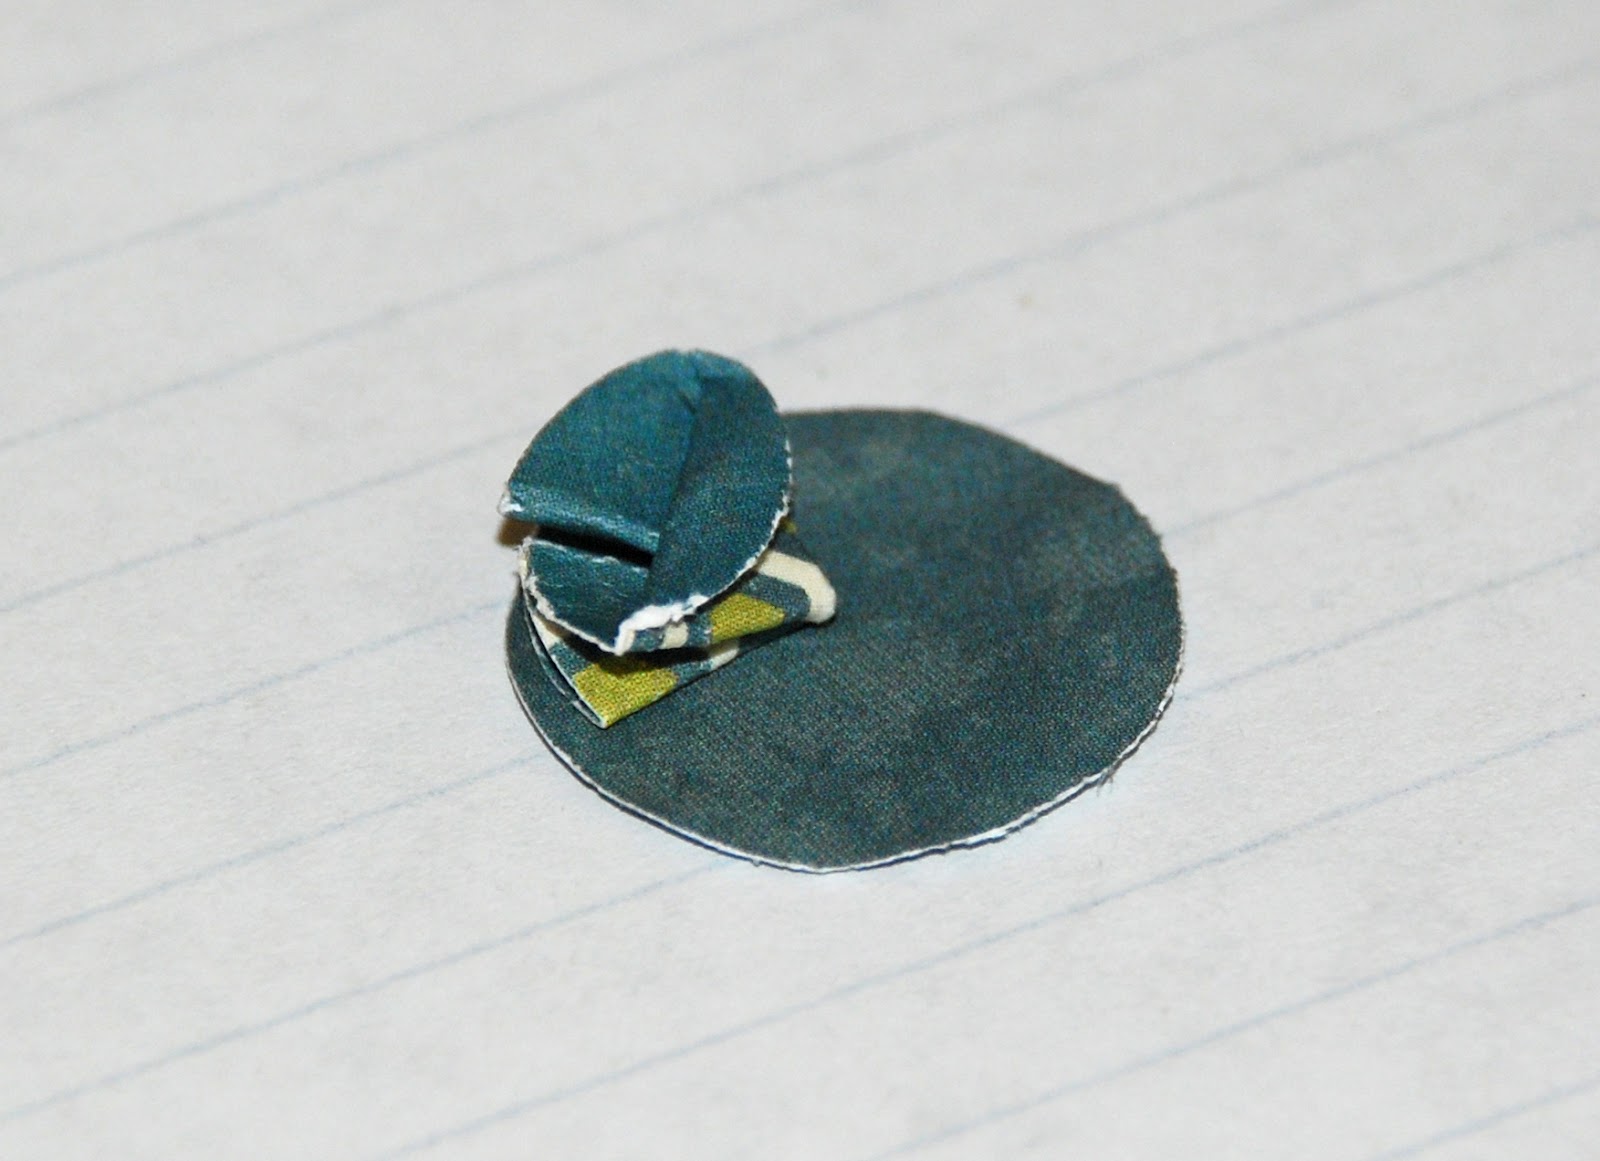
The first is a simple rolled flower.  I slit the circle in half and rolled it up.  Really, I tore it with my finger nails, very precise, huh?  The rougher, the better it seems to look.

Then I made a second circle, but this time fringed the edges of the circle before I rolled it.  Again, I used my fingernails to tear the edges.  I even lost some bits of fringe, but like I said earlier, the rougher the better it looks. 

Then I slipped the first rolled flower in to the middle and rolled the fringed circle around it.  Glued the edges inside.  Then I smashed the back so it was flat.  So easy to get a rolled flower without a fancy die.  This flower is small and measures about 1/2" across.  I think you could get fun results with different size circles...


The Folded Flower


The second flower I made using five circles.  Set aside one circle to be the base.  Take each of the remaining circles and fold in half. 

 Open it back up and fold in half the other way, but match up the score lines and fold so you have a pie shaped piece. 


Then, fold the outer edge of the paper back to reveil the reverse patteren of the paper.


Repeat this pie shape with the three remaining pieces, leaving the base for later. 
Glue the four modified pie shapes to the base to make a circle.


The Curly Flower


The third flower was made using between ten and eleven circles.  I used scraps, so when I only had enough to punch out ten circle, I made it work.
Start by setting two of the circles aside to be the base and the center of the flower.  Next, take your petals (the remaining circles) and gently roll up one edge.  This is best done with your finger or maybe a quilling tool might work (but I don't have one, so I used my fingers).  I rolled to the middle.  Then I rolled the other edge to the middle.  Then pinch one side to give it a petal shape. 

Glue each petal to the base. 


I recommend a wet glue that allows for a little fiddling to get the petals just right as you build the flower.
Add the center circle to the top.


There you go, three simple flowers made using one simple tool, a circle punch.  So easy and made from scraps and a tool I have had forever.


Thursday, June 28, 2012

Journeys

In my last post, I made mention of my family's annual road trip.  This year we ventured to Monterey Aquarium, Crater Lake National Park, Coastal Redwoods National Park and State Parks, and Lassen Volcanic National Park.  We camp most nights, but spent a few in a hotel in Monterey and stayed in a camper cabin in Crater Lake. 
The natural beauty we saw along the way was truly inspiring.  I saw colors at the Monterey Bay Aquarium I would never have thought occur in nature.  Same thing at Crater Lake, that water is so dark blue in some places and cerulean turquoise along the shores.  The large trees of the coastal redwoods allow gorgeous shadows of golden yellow light.  Really, the whole trip was hugely rejuvenating and inspiring.
I cannot wait to scrap some of the gorgeous pictures.
Below are some of my favorites.  I took over 500, so it is really hard to pick just a few...

Monterey Aquarium
Gorgeous Pink and Green Anemones Gently Sway


Really?! Florescent Pink in Nature?


Crater Lake
Crater Lake and Wizard Island


Stunning Blues and Greens


Reflections like flower petals

Oregon's Beauty

Roadside Waterfall in Southern Oregon

Mossy Rock at a Roadside waterfall

Coastal Redwoods (Del Norte, Gold's Bluff Beach, and Jedediah Smith)

Wow, those are tall
Yes, elk wondered two feet from our tent at Gold's Bluff Beach!
Smith River


Super Clear Waters of the Smith River


Lasesen Volcanic National Park

Lake Manzanita and Lassen Peak
Turquoise waters off Lassen Peak Trail
These colors of turquoise, cobolt, bright pink, and lemony greens have inspired me deeply.  I cannot wait to see my travel album.  I hope to share that with you soon.