I have been flipping through my new Stampin' Up catalog and finding all sorts of gems I cannot live without...or can I?
I started thinking in what ways can I use basic supplies to make a variety of projects? I love a good flower embellishment, so I started playing with a small circle punch. It is 7/8" but any circle would give you similar results. I used Authentique, Loyal Collection of patterned papers for these samples.

After playing around for awhile, I came up with several different styles of flowers to make that turned out varying sizes. Using double sided patterned paper, you can make beautiful flowers. It is amazing what you came come up with when you are allowed to play and experiement!

Now I am sure these flowers are not totally original with me, but I made them myself without any patterns.
The Rolled Flower
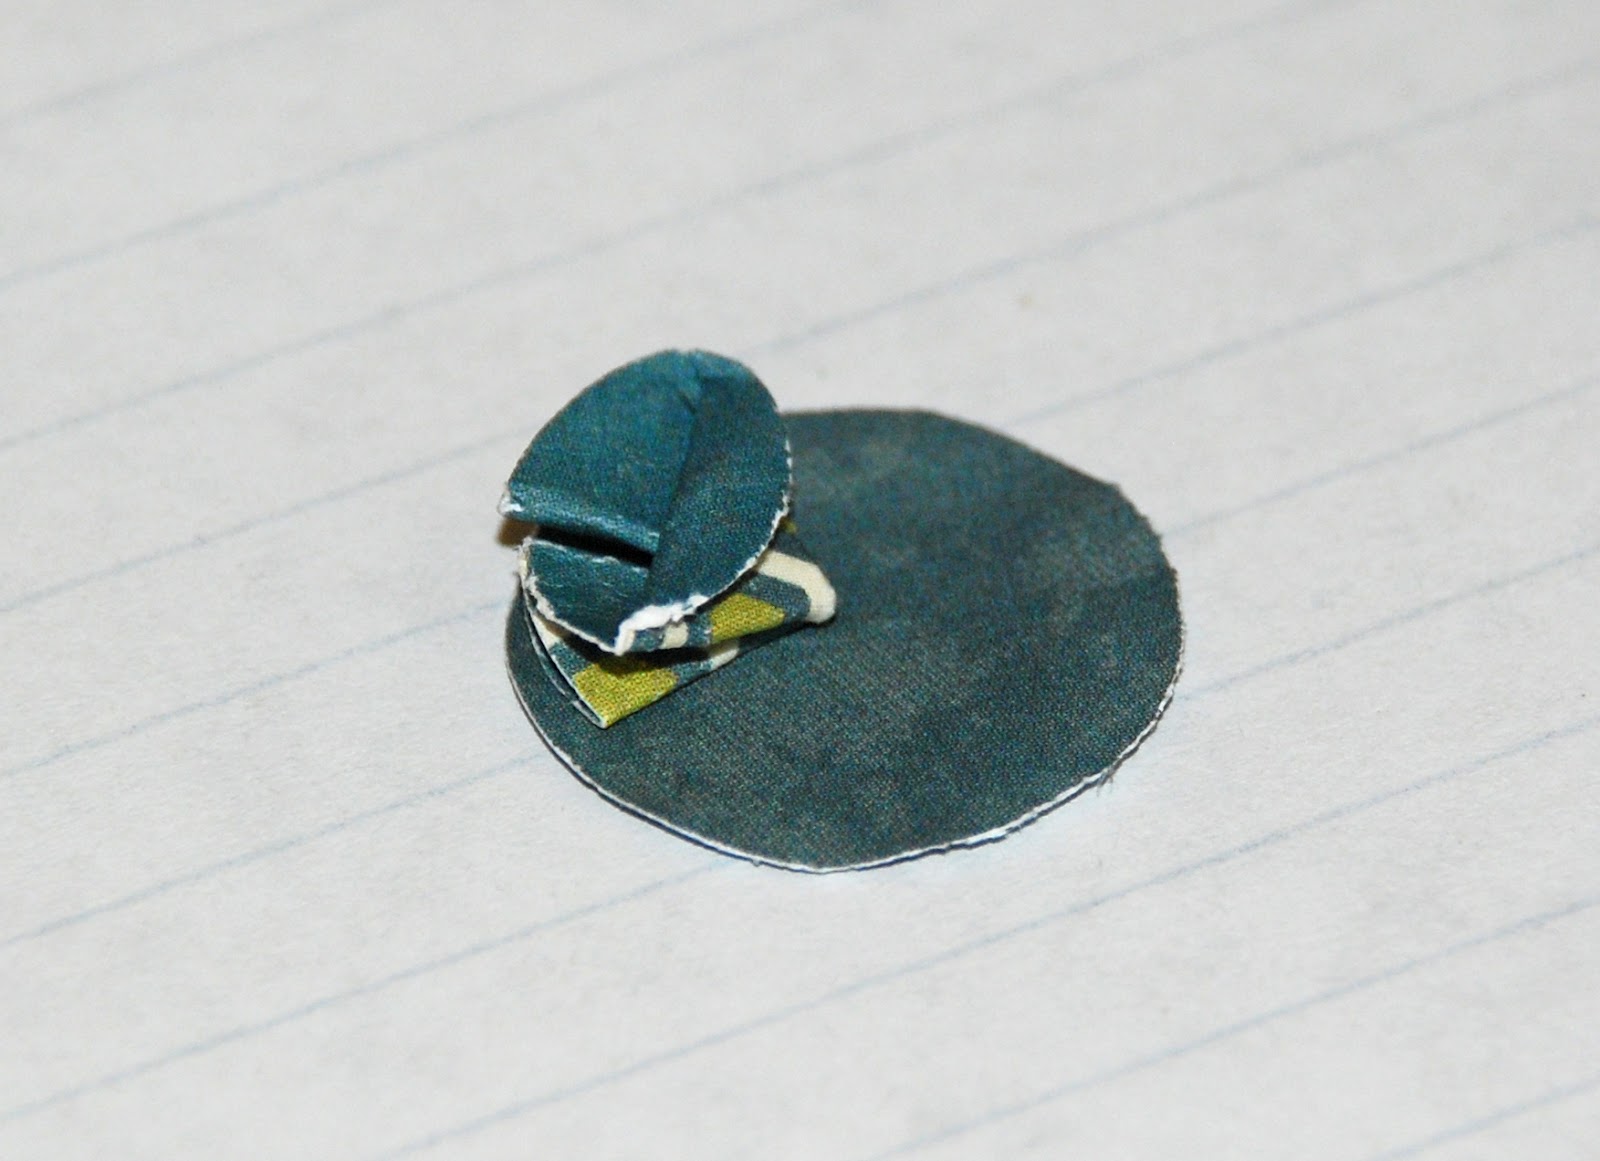
The first is a simple rolled flower. I slit the circle in half and rolled it up. Really, I tore it with my finger nails, very precise, huh? The rougher, the better it seems to look.

Then I made a second circle, but this time fringed the edges of the circle before I rolled it. Again, I used my fingernails to tear the edges. I even lost some bits of fringe, but like I said earlier, the rougher the better it looks.

Then I slipped the first rolled flower in to the middle and rolled the fringed circle around it. Glued the edges inside. Then I smashed the back so it was flat. So easy to get a rolled flower without a fancy die. This flower is small and measures about 1/2" across. I think you could get fun results with different size circles...

The Folded Flower

The second flower I made using five circles. Set aside one circle to be the base. Take each of the remaining circles and fold in half.

Open it back up and fold in half the other way, but match up the score lines and fold so you have a pie shaped piece.


Then, fold the outer edge of the paper back to reveil the reverse patteren of the paper.

Repeat this pie shape with the three remaining pieces, leaving the base for later.
Glue the four modified pie shapes to the base to make a circle.


The Curly Flower

The third flower was made using between ten and eleven circles. I used scraps, so when I only had enough to punch out ten circle, I made it work.
Start by setting two of the circles aside to be the base and the center of the flower. Next, take your petals (the remaining circles) and gently roll up one edge. This is best done with your finger or maybe a quilling tool might work (but I don't have one, so I used my fingers). I rolled to the middle. Then I rolled the other edge to the middle. Then pinch one side to give it a petal shape.

Glue each petal to the base.

I recommend a wet glue that allows for a little fiddling to get the petals just right as you build the flower.
Add the center circle to the top.

There you go, three simple flowers made using one simple tool, a circle punch. So easy and made from scraps and a tool I have had forever.
great flowers! I've made similar, but they didn't have the dimension you've created - I think the last one is my favorite
ReplyDeleteEspecially like the rolled flowers!
ReplyDeleteChris,
ReplyDeleteI love the colors you used for these flowers. Your tutorial is also awesome!
Thanks for sharing:)
Look at you go with your tutorial! Love the flowers and that blue paper!
ReplyDelete