I am going to preface this with a little advise after trying this quite a few times, many different ways. The technique works best using raw canvas and an image that full of contrast and not too detailed. Colored images seem to bleed a bit, using canvas with or without gesso. I think I ultimately like the black and white images on raw canvas best. The photos in my tutorial are using gesso, but I have more samples below. Scroll to the bottom of the post for my favorite transferred images.
Photo Transfer Technique 1:
Gel/Matte Medium
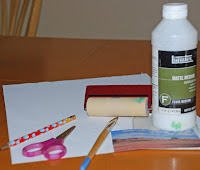 Materials:
1 piece of canvas (can be with gesso or raw*)
Gel or Matte Medium
Ink Jet color or black and white photo printed on cardstock (No larger than 3.5" x 5")
Brayer
Brayer
Scissors
Pencil
Wide, Flat Paint Brush (foam brushes work great, too)
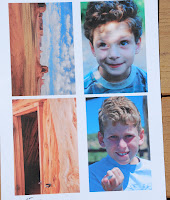 Step 1: Start by printing up the image on any water color paper or cardstock.
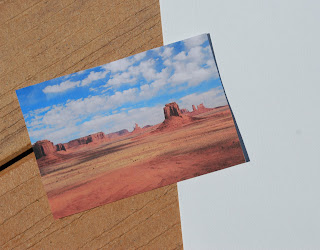
Step 2: Cut out the ink jet image.
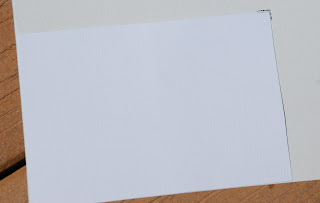 Step 3: Put the image, ink side down, onto the canvas. (*If you put the image on the gesso covered canvas, the colors will soften and blend a bit. If you use the raw side of the canvas, it will have less bleeding. I like the blended, soft look of the gesso side, so I used the gesso covered canvas in this sample.) Trace around it with pencil. I usually just mark the corners, so the pencil lines can easily be removed later. Lift up image and set aside. Remove the image from the canvas that you just traced.
Step 4: Paint gel/matte medium onto the canvas in the penciled in spot, a nice layer, not too thin, not too thick.
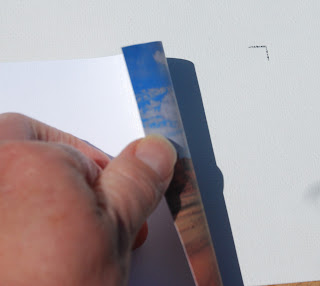
Step 5: Place the printed image onto the canvas while the medium is still wet. Place the photo down onto the glue. You should see the backside of the paper!
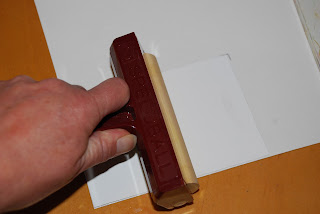
Step 6: Brayer the paper with the image side down. I even rub my fingers over it to make sure there is a good seal.

Step 7: Set it aside and let it dry.After a half hour or when the image is totally dry. Dry time will vary quite a bit, so this is often something I do one day and return to it the next day.
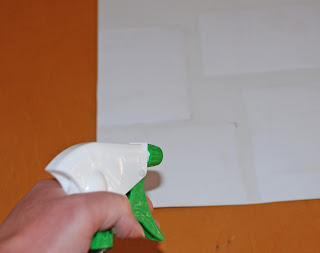
Step 8: Spray the paper the card stock with a water.
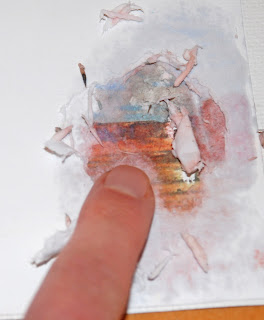
Step 9: Then using circular motions, rub off the paper, until the ink is showing through. It is like magic, when the image is revealed.
Finished Product
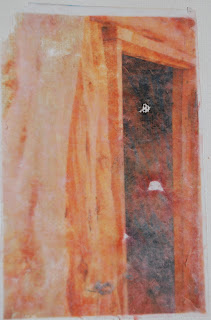
This one I really like. The white spots are where the medium didn't capture the ink. I still like it though, since the transferred images are a bit softer and less detailed than the originals.
Here are a few others I made in black and white on the raw canvas.
I like the soft vintage feel it gives to the photos.
This also works with transferring printed patterned papers to canvas, also. Remember the pattern you will see goes directly against the glue. It is hidden until the paper is rubbed away. I don't recommended papers with text, because the transfer process prints the reverse of the image. Writing will appear backwards. Now, this can be a neat effect, if you are trying to create an mirror image. Hope you enjoyed this and try this at home, too. I have enjoyed playing with it. Next, I want to experiment with using different colored card stock for printing the images and see if it will impact the transferred images.
Tomorrow I will teach you a quick photo transfer technique I learned from Jacquie Southas (http://jacquiesouthas.blogspot.com/). The following day I will share some "Oops" stories and the ways I think I can still work with the images.


